Dollar Roofing & Landscaping is an approved contractor for Belvoir Lettings. They asked us view a storm damaged fence in Bo’ness and then send a quote to either repair or replace it. In advance of inspecting the fence I suspected it was constructed without gaps (for privacy) which subsequently created a solid surface area for the wind to blow against which was why it blew over. However, upon inspection it transpired that the storm damaged fence had very large gaps for air to flow through freely. The posts were devoid of cement, rotten at the base and the majority had insects living in them. I concluded this was an age-related issue and the fence therefore needed to be replaced.

To get maximum longevity out of the new fence I ensured all of the timber I included in my quote was incised during manufacture for deeper preservative penetration to give a 15-year anti-rot lifespan. Furthermore, all of the timber quoted for was pressure treated to UC4 standard and is FSC certified. The Landlord spoke to the resident next door (shared fence) and they agreed to split the bill. They both wanted the “nice looking” side facing into their garden so I arranged for double the quantity of backing rails, fence slats and top rails. This meant both the tenants of the rented property and the next-door neighbour had the “nice looking” side in their respective gardens. Our quote and proposed design were accepted, materials were ordered and we set to work.
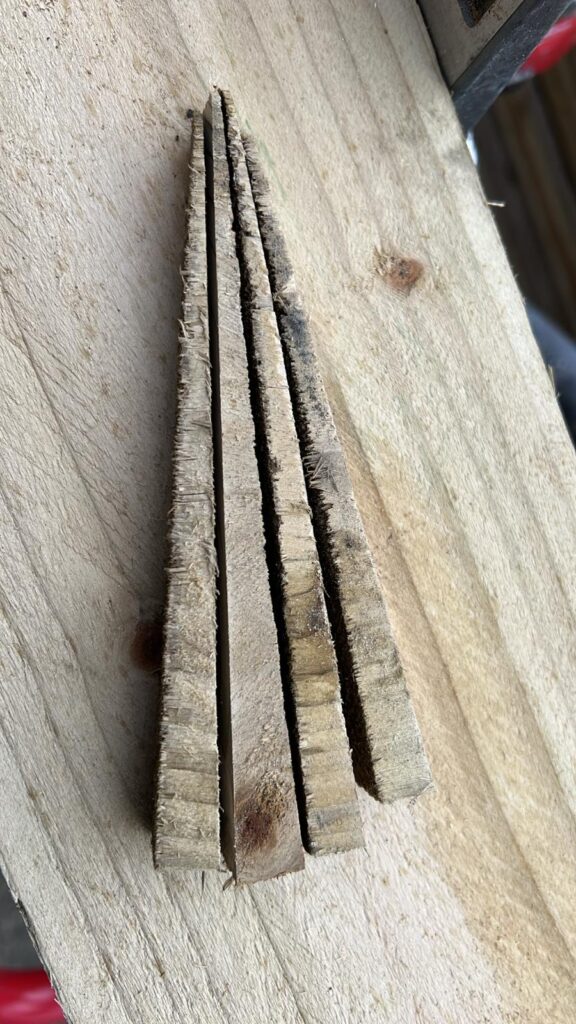
Task 1 —disassembly and removal of the storm damaged fence.
This was rather frustrating because the top ¾ of the posts lifted out of the ground while the bottom ¼ remained in the ground. We used a leverage tool called a pinch bar to remove the remaining sections of post. If you want to purchase one, you’ll be better off searching for a “digging bar” which is the new marketing name for it. Don’t be misled by the name, it does not replace a spade and is not a digging tool, the diameter of the shank is only 1”. The one we use weighs 6.4kgs and is 1.5m long, making it rather cumbersome to use but ideal for removing tree stumps and fence posts with ease. The posts were at intervals of 1.8m so we cut the backing rails to 1.8m so the fence could be removed in sections, with relative ease. Annoyingly the fence fell to bits once lifted and wood kept falling out of the wire loops. After delicately manoeuvring the broken fence out of the way we were ready to start phase two.

Task 2 —fence post and backing rail installation.
Holes were dug at 1.8m intervals, the same as the previous fence. This is standard practice for us because the backing rails are 3.6m therefore posts at 1.8m intervals allows for a post at either end of the backing rail and one in the middle for additional strength. The original fence posts weren’t cemented in place so we had to make the holes wider to allow for this. Hanson Fast Set Postfix was used for secure ground anchoring of the new posts. It is a fast-setting concrete mix comprising of Portland cement, sharp sand, additives and 10mm aggregate. The official recommendation is to pour two litres of water into the hole then add the contents of one 20kg bag of postfix then tamp it around the fence post. Our method is slightly different and arguably superior. We mix the postfix with water for a consistent mix because dry postfix does not secure a fence post. We also use two bags (40kgs) of postfix per post rather than one. We have repaired many fences built by other contractors that were blown over by strong winds and but ours have stood the test of time and remain in perfect condition, arguably due to our superior construction method. In terms of materials cost it may be cheaper to purchase a bulk bag of sharp sand and one of aggregate (or simply bulk bags of ballast which is sand and aggregate combined) and mix it with cement at a ratio of 4:1 but that incurs a delivery charge and a cement mixer hire charge. The number one reason we use postfix is convenience. It comes in 20kg bags which can be moved around the job site and placed at the holes in advance. This saves us time at the cement mixer combining the materials and saves on cleaning time too. The backing rails were then attached at the top and bottom of the fence posts using 75mm screws.

Task 3 —installing fence slats.
The fence slats were 6ft in length but the fence was to be 3ft high so these were cut in half using a battery powered Milwaukee Mitre Saw. The fence design included a top rail so we ensured the backing rail was at the very top of the fence posts. The garden was on a slope of 5 degrees to every fence slat was cut at a 5-degree angle at the top and bottom.
The slats were attached to the backing rails using screws (two at the top and two at the bottom). We wanted to allow for air flow through the fence so ensured there were gaps between the slats. All of the gaps were equal width throughout. This was achieved by using a fence slat on its narrow edge as a spacer.

Task 4 —finishing touches.
Top rails and kickboards were attached to the fence both sides of the fence. Top rails typically protrude over the fence slat lightly but we think it’s more aesthetically pleasing when flush with the fence slat so we install them that way. The fence looked perfect at this stage but the client requested kickboards (agreed in the original contract) so these were attached to the fence. The reason we believe the fence looked better before these were attached is because of the attention to detail, specifically the 5-degree angle cut on the bottom of evert slat, in line with the ground which ended up being covered up with the kickboards. Both the tenant of the rented property and the next-door neighbour were delighted with their new fence. We responsibly disposed of the old fence and left the area tidy.
